GoHighLevel Product Started Trigger: Setup Guide (2026)
 By Dr Priya Jaganathan, GoHighLevel Certified Admin · HL Growth Partner, Australia · Updated 10 November 2026 · 8 min read
How to set up the GoHighLevel Product Started trigger so every learner who opens a course gets the right welcome, nudges and coach alerts, and nobody who buys and never starts slips through the cracks.
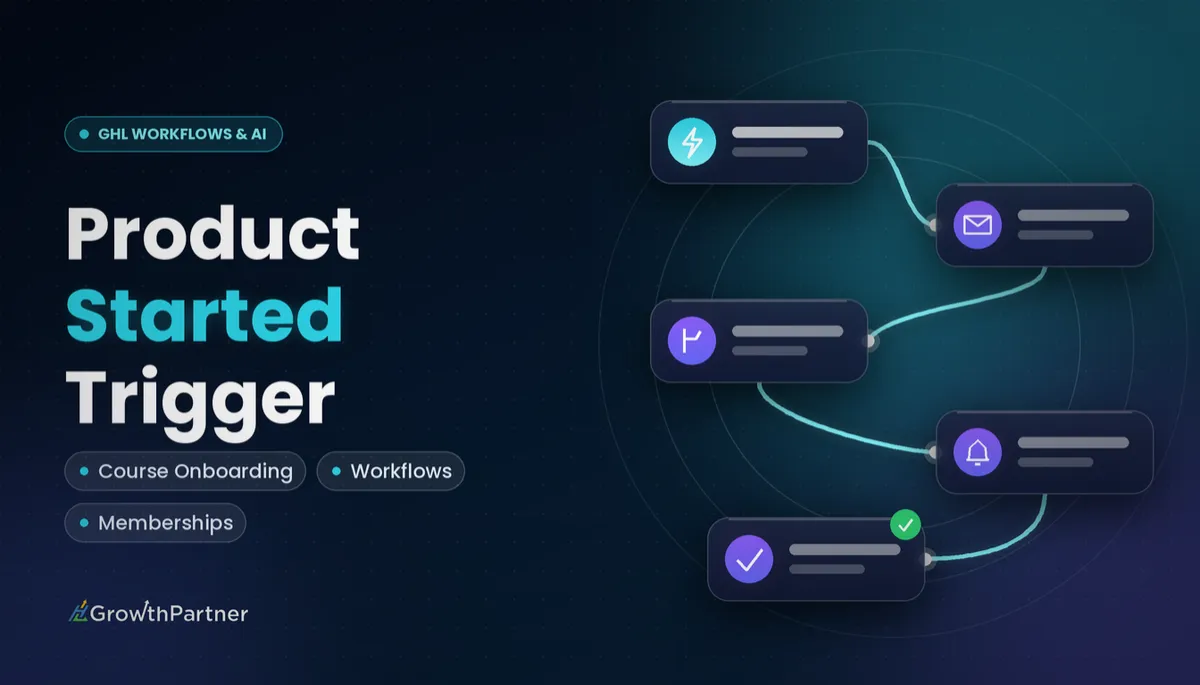
The GoHighLevel Product Started trigger fires a workflow the moment an enrolled learner begins a course product in your HighLevel memberships area. It is the cleanest signal you have that someone has gone from "bought it" to "doing it", and it is the trigger most course businesses forget to use.
This guide walks through what the trigger does, how to configure it step by step, five workflow recipes we build for coaching and education clients, and the mistakes that quietly break course automation. It sits alongside our guides to the Lesson Started trigger and the Product Completed trigger, which bookend the same learner journey.
| Trigger name | Product Started |
| Where to find it | Automation → Workflows → Add New Trigger (courses / memberships group) |
| What fires it | A learner starting a course product they have access to |
| Key filter | Product (pick the specific course) |
| Fires without a filter? | Yes, for every product in the account |
| Sister triggers | Product Access Granted, Lesson Started, Lesson Completed, Product Completed |
What the Product Started trigger actually does in GoHighLevel
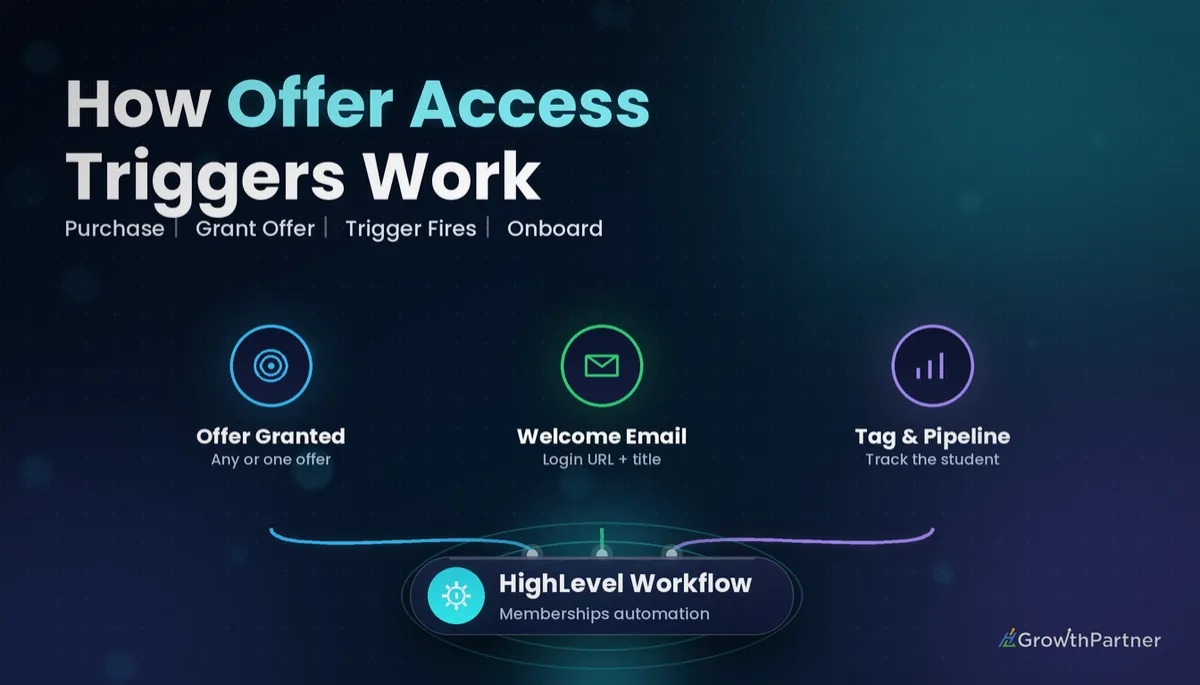
Think of a course purchase as two separate events. The first is access: the contact is granted the product, usually through an offer or a payment. The second is engagement: the learner logs in and begins.
Product Started captures the second event, not the first. That distinction is the whole point. A learner can sit on access for weeks without opening anything, and Product Access Granted cannot tell you that.
When the trigger fires, the contact enters your workflow with the product context attached. From there you can tag them, move an opportunity, send a welcome message from the coach, or start a progress-tracking sequence.
Product Started vs the other course triggers
HighLevel gives you a family of membership triggers. Each one answers a different question about the learner, so picking the right one matters.
| Trigger | Question it answers | Best used for |
|---|---|---|
| Product Access Granted | Do they have the course? | Login details, "start here" email |
| Product Started | Have they actually begun? | Welcome from the coach, progress tracking |
| Lesson Started | Which lesson are they on? | Lesson-specific resources |
| Lesson Completed | Did they finish a step? | Drip unlocks, milestone praise |
| Category Completed | Did they finish a module? | Module check-ins, upsells |
| Product Completed | Did they finish the course? | Certificates, reviews, next offer |
If you only build one of these, build Product Access Granted first for logins. Product Started is the one you add next, because it is what lets you separate starters from non-starters.
Why the Product Started trigger matters for course and coaching businesses in 2026
Most course refund requests and "this didn't work for me" complaints come from people who never really began. You cannot coach someone who has not opened the first lesson.
The trigger gives you a precise moment to step in with something human. A short voice note or personal SMS from the coach at the point of starting lands far better than a generic broadcast a week later.
It also gives agencies a reportable number. The gap between "access granted" and "product started" is your activation rate, and it is one of the most useful health metrics you can show a course client.
Access tells you who paid. Product Started tells you who showed up. Build your follow-up around the people who showed up, and chase the ones who didn't.
How to set up the Product Started trigger, step by step
Before you start, make sure the course exists under Memberships, has at least one published lesson, and is attached to an offer or granted access in a way learners can actually reach.
Step 1: Create the workflow
Go to Automation → Workflows → Create Workflow → Start from Scratch. Name it clearly, for example "COURSE | Signature Program | Product Started". Naming conventions save hours once a client has thirty course workflows.
Step 2: Add the trigger
Click Add New Trigger, search for "Product Started" and select it. In some accounts it sits in the courses group and in others the memberships group, so search rather than scroll.
Step 3: Filter to the right product
Add a filter and choose the specific product. Never leave this trigger unfiltered in an account with more than one course, or a learner starting a free mini-course will receive the onboarding for your flagship program.
Step 4: Add your first actions
A good default stack looks like this:
- Add Tag: "started-signature-program" so you can segment and report.
- Update Opportunity: move the learner to an "In Progress" stage in your delivery pipeline.
- Send SMS or Email: a short, personal welcome from the coach.
- Internal Notification: alert the coach or community manager.
Step 5: Test with a real learner account
Create a test contact, grant it the product, log in to the client portal as that learner and open the first lesson. Then check the workflow's Enrollment History to confirm the contact entered and every action executed.
Membership settings change regularly, so treat this as a working pattern and confirm the trigger name and filter options inside your own account.
Five Product Started workflow recipes we build for clients
These are the patterns we deploy most often across coaching, education and membership sub-accounts. Each one starts with the same filtered Product Started trigger.
1. The coach welcome
Send a short SMS from the coach's name within minutes of starting: "Saw you've kicked off the program, great to have you. Reply here if anything is unclear." Replies land in Conversations, so the coach can answer from the mobile app.
2. The stalled-learner nudge
After Product Started, add a Wait of three to five days, then an If/Else checking for a tag your Lesson Completed workflow adds. No tag means no progress, so send a friendly nudge and a direct link to the next lesson.
3. The non-starter chase (the reverse recipe)
This one lives in your Product Access Granted workflow. Wait 48 hours, then check whether the "started" tag exists. If it does not, send a "here's how to log in" message. Product Started supplies the tag that makes this possible.
4. The pipeline handover
For high-ticket programs, move the opportunity to "Active Client" and assign the contact to a coach. Our guide to GoHighLevel pipeline automation covers the stage design that makes this reporting work.
5. The community invite
Starting the course is the right moment to invite the learner into your group, not the moment they pay. Send the invite link to your HighLevel Community with a prompt to introduce themselves.
| Recipe | Main actions | Outcome |
|---|---|---|
| Coach welcome | SMS, internal notification | Personal touch at the right moment |
| Stalled-learner nudge | Wait, If/Else on tag, email | Fewer learners going quiet |
| Non-starter chase | Tag check in Access Granted workflow | Higher activation rate |
| Pipeline handover | Update opportunity, assign user | Clean delivery reporting |
| Community invite | Email or SMS with group link | Engaged members, not silent ones |
How to report on learner activation with this trigger
Because the trigger adds a tag, reporting becomes simple. Compare the number of contacts tagged "access-signature-program" with those tagged "started-signature-program" for the same period.
That ratio is the activation rate, and it is worth putting in front of course clients every month. A low number tells you the problem is onboarding, not content.
For deeper reporting, move learners through pipeline stages (Access, Started, Halfway, Completed) and use the opportunity report. The full trigger list is in HighLevel's workflow trigger reference, and our complete guide to GoHighLevel workflow triggers explains how they combine.
Common mistakes to avoid
- Leaving the product filter empty, so every course in the account fires the same onboarding.
- Sending login details from Product Started. The learner is already logged in; logins belong on Product Access Granted.
- Duplicating messages across Access Granted and Product Started, so new learners get two welcomes within minutes.
- Not allowing re-entry thoughtfully. Decide whether a learner who restarts should go through the sequence again, and set the workflow's re-entry setting to match.
- Testing as an admin instead of a real learner contact, which can hide permission and offer problems.
- Skipping the tag, which removes the one data point your stalled-learner and non-starter recipes depend on.
Frequently asked questions
What is the Product Started trigger in GoHighLevel?
Product Started is a membership workflow trigger that enrols a contact into a workflow when they begin a course product they have access to. It lets you react to genuine engagement rather than to the purchase itself. Most course businesses use it for coach welcomes, progress tracking and activation reporting.
What is the difference between Product Started and Product Access Granted?
Product Access Granted fires when a contact is given access to a course, usually after a purchase or manual grant. Product Started fires later, when the learner actually begins the product. Use Access Granted for login details and Product Started for engagement-based follow-up.
Do I need to filter the Product Started trigger?
Yes, in any account with more than one course. Without a product filter the trigger fires for every product, so learners in a free mini-course would receive the onboarding for your paid program. Add a separate filtered workflow for each course that needs its own journey.
How do I find learners who bought a course but never started it?
Add a "started" tag in your Product Started workflow. Then, in your Product Access Granted workflow, wait 48 hours and use an If/Else to check for that tag. Contacts without it have not started, so send them a login reminder or a personal check-in.
Can I use Product Started to move an opportunity in a pipeline?
Yes. Add an Update Opportunity action after the trigger and move the learner to an "In Progress" or "Active Client" stage. This gives coaching businesses a clear view of who is actively working through a program and makes delivery reporting much easier.
Why didn't my Product Started workflow fire during testing?
The most common causes are an unpublished workflow, a filter set to the wrong product, or testing as an admin rather than as a learner contact. Grant the product to a test contact, log in through the client portal as that learner, open the first lesson and check Enrollment History.
Related Articles on HL Growth Partner
Course and membership triggers
 GoHighLevel Lesson Completed Trigger: Setup Guide (2026)
 GoHighLevel Category Completed Trigger: Setup Guide (2026)
 GoHighLevel User Login Trigger: Setup Guide (2026)