GoHighLevel Product Access Removed Trigger: Setup Guide (2026)
 By Dr Priya Jaganathan, GoHighLevel Certified Admin · HL Growth Partner, Australia · Updated 7 November 2026 · 9 min read
How to set up the HighLevel Product Access Removed trigger so every member who loses access to a course gets a clean exit, a tidy CRM record and, where it makes sense, a reason to come back.
The Product Access Removed trigger in GoHighLevel starts a workflow the moment a contact loses access to a membership product or course. It is the quiet end of the course lifecycle, and most accounts we audit either ignore it or wire it up so loosely that the wrong people get the wrong message.
This guide covers what fires the trigger, how its filter works, how it differs from Offer Access Removed, and four workflow recipes we use with coaching and course clients across Australia. By the end you will have an offboarding flow you can test in under an hour.
| Where to find it | Automation → Workflows → Add New Trigger → Courses section (or search "Product Access Removed") |
| Trigger category | Memberships / Courses |
| Fires when | A contact's access to a membership product is revoked or removed |
| Filter | Select Product (leave empty to fire for any product in the sub-account) |
| Re-entry | Fires each time access is removed, so guard repeat actions with conditions |
| Pairs with | Product Access Granted, Offer Access Removed, Refund, Subscription triggers |
What fires the Product Access Removed trigger in GoHighLevel
According to HighLevel's help article on the Product Access Removed trigger, the event fires when a contact's access to a product is revoked. In practice, that revocation can come from a few different places in your account.
- Manual removal by an admin inside Memberships, on the member's profile or the product's member list.
- Offer access being removed, which in turn strips the products bundled inside that offer.
- Payment-driven removal, such as a cancelled subscription or a refund in Stripe where your offer is set to revoke access.
- Workflow actions that remove offer or course access as part of another automation.
The exact behaviour for payment events depends on how your offer and product settings are configured, so treat the list above as the usual sources rather than a guarantee. Always confirm the path in your own sub-account with a test contact before you trust it with real members.
It is also worth knowing that the trigger fires every time access is removed. A member who is removed, re-added and removed again will enter the workflow twice unless you stop them.
Product Access Removed vs Offer Access Removed: which GHL trigger to use
This is the question we get most often. In HighLevel, an offer is the thing a member buys, and a product is the course or membership area inside it. One offer can hold several products, and one product can sit inside several offers.
That relationship decides which trigger you want. If you sell a single course through a single offer, either trigger will do the job. Once you start bundling, they behave very differently, and the detail matters. Our Offer Access Removed trigger guide covers the offer side in depth.
| Question | Product Access Removed | Offer Access Removed |
|---|---|---|
| What it watches | A specific course or membership product | The purchasable bundle (offer) |
| Filter | Select Product | Select Offer |
| Best for | Content-level actions, e.g. "they lost the Module Vault" | Commercial actions, e.g. "they stopped paying for the Gold plan" |
| Bundles | Can fire once per product removed in a bundle | Fires once for the offer |
| Typical recipe | Content-specific offboarding, tag clean-up | Billing follow-up, win-back offer, pipeline update |
Our rule of thumb: use the offer trigger for anything about money and the product trigger for anything about content. If you use both, make sure they do not send overlapping emails.
How to set up a GHL product access removed workflow, step by step
Before you start, check your products and offers are tidy. If you are still building the course area itself, set that up in Memberships first so every product has a clear name.
1. Create the workflow
Go to Automation, then Workflows, and click Create Workflow. Start from scratch and give it a name your team will understand in six months, such as "MEM | Product Access Removed | Signature Course".
2. Add the trigger and filter
Click Add New Trigger, open the Courses section or search for "Product Access Removed", and select it. Add the Select Product filter and pick the course this workflow is for.
Leaving the filter empty means the workflow fires for every product in the sub-account. That is fine for a single internal alert workflow, but it is a common source of wrong-course emails.
3. Set re-entry and add actions
Decide whether contacts may re-enter the workflow in the workflow settings. For offboarding messages, we usually allow re-entry but add an If/Else condition on a tag or custom field so the email only sends once per cycle.
4. Save, publish and test
Save the trigger, build the actions below, then switch the workflow from Draft to Publish. Do not skip testing; we cover how further down.
Access granted is where the relationship starts. Access removed is where you find out whether you built one.
Four Product Access Removed workflow recipes that earn their keep
These recipes are the ones we deploy most often. Mix and match them, but keep each workflow focused on one job so it is easy to debug later.
Recipe 1: The respectful offboarding message
Send a short, human email within an hour of removal. Confirm access has ended, tell them what they keep (downloads, certificates), and give one clear way to ask a question.
- Trigger: Product Access Removed, filtered to the course.
- Action: Wait 30-60 minutes, so a quick admin fix does not send a goodbye.
- Condition: If the contact still does not have access (check a tag set by your access-granted flow), send the email.
- Action: Add an internal note to the contact with the removal date.
Mirror this against your onboarding flow. If you have not built that side yet, start with the Product Access Granted trigger and use the same naming so the two flows read as a pair.
Recipe 2: Tag and pipeline clean-up
This is the recipe that keeps your reporting honest. Stale "active member" tags are the single biggest cause of former members receiving member-only emails.
- Remove the active tag for that course, such as "course-signature-active".
- Add a past-member tag, such as "course-signature-former".
- Update a custom field like "Signature access ended" with the current date.
- Move the opportunity in your member pipeline to a "Former member" stage.
Consistent naming makes this painless. Our guide to tag naming and automation covers a structure that scales past a handful of courses.
Recipe 3: A soft win-back sequence
Not every removal is a lost cause. A member who left because of timing or cash flow is often your warmest lead for a relaunch or a cheaper tier.
- Day 7: Ask one question, "What would have made this more useful?", with a reply-to that lands in Conversations.
- Day 21: Share a genuine win from a current member or a new module.
- Day 45: Make a specific return offer, with a workflow goal that exits them the moment Product Access Granted fires again.
Keep the tone low-pressure. If the removal followed a refund or a complaint, skip this recipe entirely, which leads to the next one.
Recipe 4: Refund and failed-payment linkage plus internal alert
Access removal tells you what happened, not why. Pair it with payment data so your team responds to the cause, not the symptom.
- When a refund happens, have your Refund trigger workflow add a "refunded" tag first.
- In the Product Access Removed workflow, branch with If/Else: refunded contacts get no win-back, everyone else continues.
- For failed payments, branch to a "card update" email with your payment link instead of a goodbye.
- Send an internal notification (email, SMS or a task) to the program owner with the contact, product and reason tag.
The internal alert is often the most valuable step. A personal message from the coach within a day can save a member that no automated email would.
Testing your Product Access Removed automation before it goes live
Create a test contact with an email you control, grant it access to the product, then remove access manually in Memberships. Check the workflow's Execution Logs to confirm the contact entered and each step ran.
- Test with the filter on the right product, then remove access to a different product and confirm nothing fires.
- Test removal through the offer, not just the product, if you sell bundles.
- Check tags, custom fields and pipeline stage on the contact record after the run.
For a fuller testing routine, including how to read execution logs, see our workflow testing and debugging checklist.
Where the trigger sits in the GoHighLevel course lifecycle
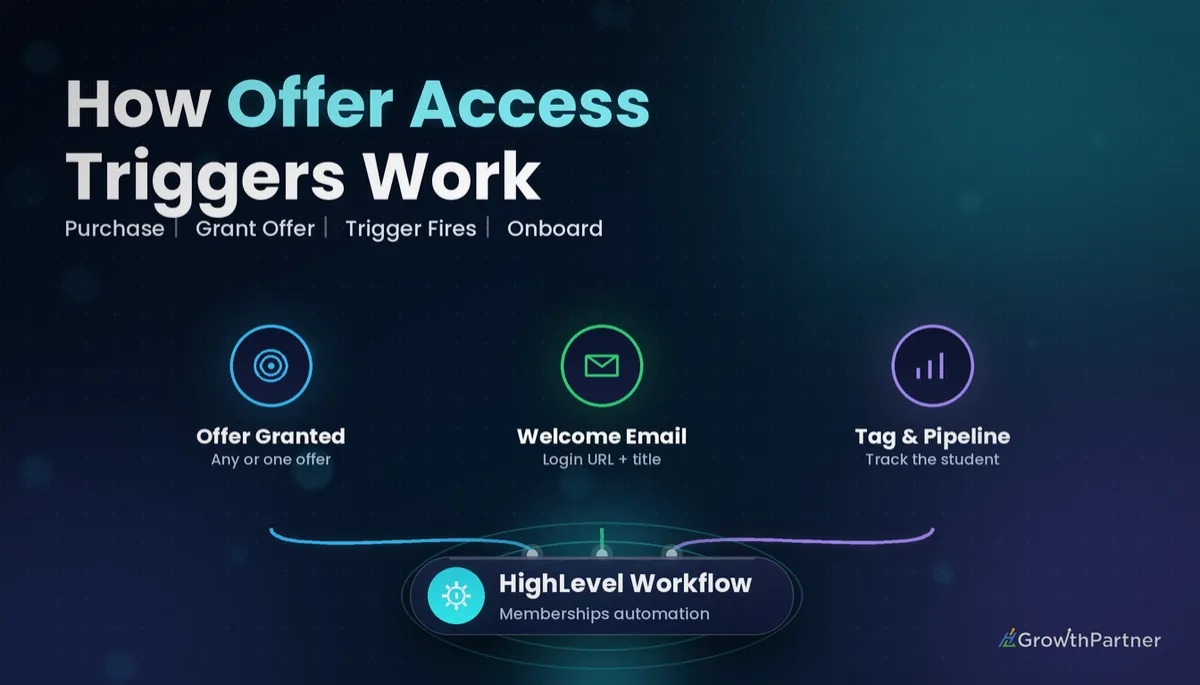
Think of the membership triggers as a timeline. Offer Access Granted and Product Access Granted open the door, Lesson, Category and Product Completed track progress, and the two removal triggers close the loop.
The removal triggers are the only ones that tell you a relationship is ending, which is why they deserve the same care as onboarding. A member who leaves cleanly, with accurate tags and a kind message, is far more likely to buy again or refer a friend.
Common mistakes to avoid
- Leaving the Select Product filter empty, so every course triggers the same goodbye email.
- Sending offboarding emails from both the product and offer triggers, so a member gets two or three messages at once.
- Removing access without removing the "active" tag, so former members stay in member-only campaigns.
- Sending a win-back sequence to someone who just requested a refund.
- Firing the email instantly, with no short wait to absorb admin mistakes or quick re-grants.
- Publishing without testing a removal through the offer as well as the product.
Frequently asked questions
What does the Product Access Removed trigger do in GoHighLevel?
The Product Access Removed trigger starts a workflow when a contact's access to a membership product or course is revoked. You can filter it to a specific product, or leave the filter empty so it fires for any product in the sub-account.
What is the difference between Product Access Removed and Offer Access Removed?
Offer Access Removed fires when a contact loses access to an offer, which is the bundle they purchased. Product Access Removed fires at the level of the individual course or membership product. Use the offer trigger for billing and commercial follow-up, and the product trigger for content-specific offboarding.
Does Product Access Removed fire when a subscription is cancelled?
It can, if your offer is set up so that a cancellation or refund revokes access to the products inside it. Behaviour depends on your offer and payment settings, so test a cancellation path with a test contact before relying on it.
Can the Product Access Removed trigger fire more than once for the same contact?
Yes. The trigger fires each time access is removed, so a contact who is removed, re-added and removed again can enter the workflow twice. Use re-entry settings and If/Else conditions on tags or custom fields to stop duplicate messages.
Where do I find the Product Access Removed trigger in a workflow?
In Automation, open or create a workflow, click Add New Trigger and look in the Courses section, or type "Product Access Removed" into the trigger search. Then add the Select Product filter and save the trigger.
How do I test a Product Access Removed workflow?
Grant a test contact access to the product, then remove that access manually in Memberships and check the workflow's Execution Logs. Also test removal through the offer if you sell bundles, and confirm tags, custom fields and pipeline stage updated correctly.
Should I send a win-back sequence after product access is removed?
Only to the right people. A win-back sequence suits members who left for timing or budget reasons, but it should be skipped for contacts who were refunded or complained. Branch on a refund tag and add a workflow goal that exits contacts when access is granted again.
Related Articles on HL Growth Partner
More membership triggers
Payments and re-engagement
 GoHighLevel Subscription Trigger
 Stripe Integration: Payments Setup
 Database Reactivation for Cold Leads